Happy spring, everyone! The nice weather is finally here! However, since this is Ohio, you never truly know what season you’ll wake up in (maybe it’ll be sunny in the morning, and then snowing at night)! For those colder days, I’ve got a fun indoor activity that’s been keeping me busy. Abby here with another DIY post for you all – this time a two-parter!
In today’s post, we’re going to make T-Shirt yarn and turn it into pom-poms! And next month, I’ll share some ideas on what to do with all your great T-shirt Pom-Poms!
Supplies Needed:
T-Shirt Yarn:
- Thrifted T-shirts
- Fabric Sheers
Pom Poms:
- T-shirt yarn
- Pom Pom Makers
- OR Make your own:
- Cardboard
- Circle template (I used a glass)
- Pen
- Smaller Circle template (I used a penny)
- Scissors
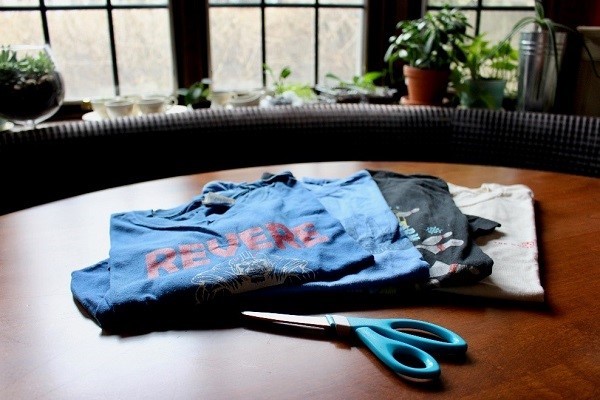
To make your t-shirt yarn:
Lay out your T-shirt flat. It’s best if your T-Shirt doesn’t have a ton of graphics or embroidery, as you’ll want a pretty large portion of the t-shirt for making your yarn.
Cut a “tube” from the bottom of your T-Shirt from arm pit to arm pit (or as close as you can get to the arm pits, leaving an graphics for another day…and project).
Lay your “tube” so the open ends are on the left and right, and then trim off the bottom hem of your t-shirt.
Once you have the hem trimmed off, fold up your “tube”, leaving an inch above the folded-up bit to the top of your “tube”.
Next, you’ll make cuts about an inch (ish) apart up your folded “tube”, cutting through the first fold, but not the top of your “tube”.
Once you’ve cut all your strips in your “tube”, you’ll make diagonal cuts along the top of the “tube” where you didn’t cut through before.
When you’ve made all your diagonal cuts, you’ll have one long piece of t-shirt.
Pull the t-shirt through your hand (or your hand covered with your sleeve) to stretch it out and turn it into “yarn”!
Roll it into a ball, and you are set to craft with your t-shirt yarn.
Some thoughts on making t-shirt yarn: I’ve included lots of photos in this post because making one continuous long piece of yarn was a bit complicated to me. I also took some time to find/watch several videos on Youtube, because watching someone else first made me feel more comfortable.
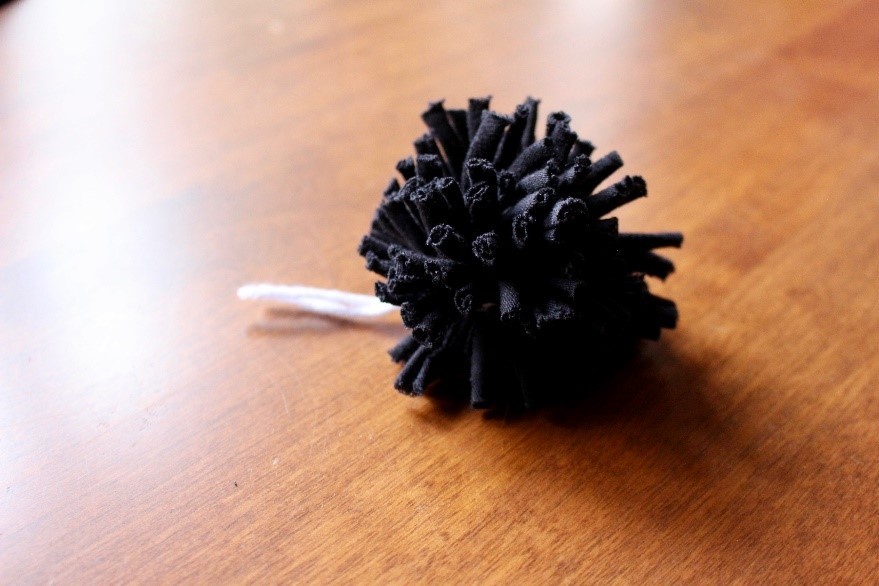
If you’ve made it this far, and want to keep crafting, follow along for making some pom-poms with your t-shirt yarn!
There are several ways to make pom-poms – you can purchase a pom-pom maker at a craft store (or on Amazon), or you can make your own pom-pom maker with some cardboard. I found that using a pom-pom maker resulted in better pom-poms, but I still have some experimenting to do with the cardboard version.
To make a cardboard pom-pom maker, you’ll need to trace two circles, the same size, onto a piece of cardboard.
When you have your two circles cut out, you’ll trace a smaller circle in the middle of your two circles. I used a penny, but I need to experiment with different sized inside circles.
Cut out the little circle in the middle of your bigger circle, as well as a wedge of the circle. You’ll repeat this on the other circle (or trace).
Stack your two circles, now more like letter “C”s, on top of each other, and wrap your t-shirt yarn around them. I wrapped mine around about 4 times total, but you do you.
Once you have your yarn wrapped around your cardboard templates to your liking, you’ll take some scissors and cut the yarn by inserting your scissors between the two cardboard circles.
When the yarn has been cut all the way around your circle, you’ll separate your two circles (slightly), and take a separate piece of yarn and insert it between the cardboard to tie around your pom-pom.
Like I said before, I watched a few YouTube videos on this process, as well, before I got it nailed down. I’ll also say, I prefer the pom-poms I made with the pom-pom makers I bought off Amazon but will definitely take some time to experiment with the cardboard method again.
You might be wondering, what am I to do with these pom-poms that I’ve made? And you’ll get an answer next month, as I’ll be sharing some ideas and easy crafts for what to do with them then.
Until next time – Happy pom-pom making!
_Abby